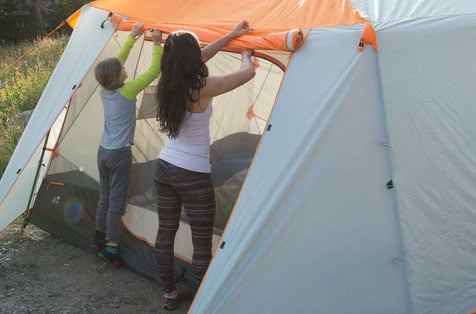
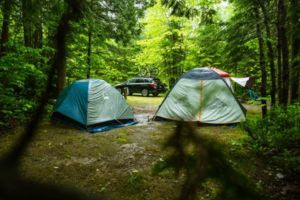
Cleaning your tent after a camping trip is an essential part of maintaining your gear. Not only will it help your tent last longer, but it will also keep it clean and ready for your next trip. Follow these tips to learn how to clean a tent after camping:
1. Gather the necessary supplies
Before you begin cleaning your tent, make sure you have all of the tools and materials that you need on hand. This may include soap, a sponge or brush, a bucket of water, rubbing alcohol or stain remover, and any other cleaning products that are recommended for your specific tent material.
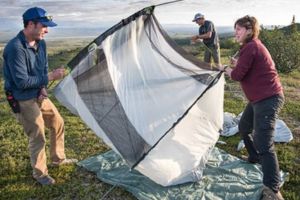
2. Shake out the dirt and debris
Start by shaking out the tent to remove any dirt, leaves, or other debris that may be clinging to it. In reality, this is only possible with smaller tents that you can pick up and shake out. With larger tents, you can skip this step.
3. Vacuum the interior
Once the majority of the dirt and debris has been removed, use a vacuum with a soft brush attachment to clean the interior of the tent. Pay special attention to any areas where there may be dirt or dust build-up.
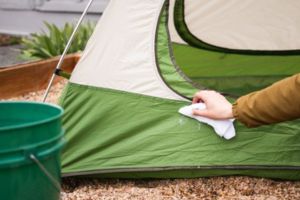
4. Clean the floor
The next step is to clean the floor of the tent. You’ll want to clean the floor with soap and water, using a sponge or brush to scrub away any dirt or stains. If there isn’t a lot of stuck-on mud, a light cleaning will do.
If your camping trip was a muddy one and now you have a lot of dried mud stuck to the bottom of the tent, you’ll probably need to get your hose involved. Often, a light spray from your hose will help to loosen up that dried mud, making it a lot easier to clean.
5. Clean the walls and ceiling
Use the same soap and water solution to clean the walls and ceiling of the tent. Again, focus on any areas where there may be dirt or dust build-up. You won’t need to scrub super hard in these areas, this is more of a light cleaning.
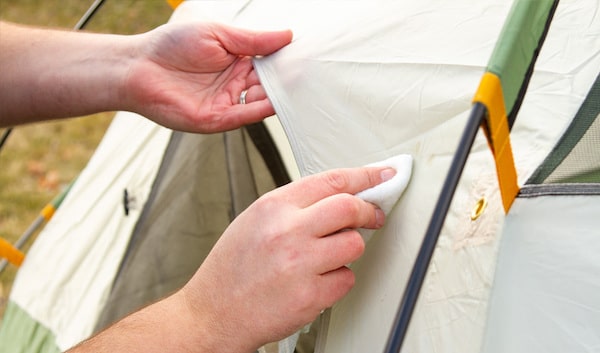
6. Treat any stains
If there are any stubborn stains on your tent, you’ll need to treat them with a stain remover or rubbing alcohol. Be sure to test the solution on a small area of the tent first to ensure that it won’t damage the fabric.
In the end, if there is a stain that just won’t come out, I’d recommend just leaving it. If you try too much you could end up damaging your tent. Additionally, it’s normal for camping tents to have a few battle scars after great camping trips.
7. Rinse the tent
Once all of the dirt, dust, and stains have been removed, rinse the tent with clean water. In most situations, you can rinse down your tent with your garden hose. Spraying down the inside of the tent won’t harm it and is a good way to flush out any remaining dirt or debris.
8. Dry the tent
Finally, dry the tent completely before storing it away. You’ll want to start by drying out the inside of the tent with towels or rags. Focus on drying up any areas where water has pooled. I typically focus on hand drying the inside of the tent but don’t worry about hand drying the outside of the tent.
After drying the inside, set up the tent in a sunny spot to help speed up the drying process. This is a very important step to ensure is done completely. If you pack your tent away before it is done, you run the risk of mildew growing in your tent.
Conclusion
By following these simple tips, you can keep your tent clean and in good condition for many camping trips to come. Don’t let the cleaning process intimidate you – with a little time and effort, it’s easy to keep your tent looking like new.
Cleaning your tent after a camping trip is important if you want to keep your tent in good condition. You will need to gather some supplies, shake out the dirt and debris, vacuum the interior, clean the floor, clean the walls and ceiling, treat any stains, rinse the tent, and dry the tent. Taking these steps will help ensure that your gear lasts longer and is always ready for your next camping trip.


Leave A Comment